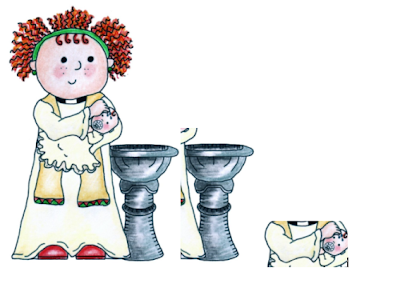
Open a word document and insert the image: Insert/Picture/From File
 Double-click on the image to open the picture format box and go to the size tab. Set the size you want, making sure the "Lock aspect ratio" is ticked. Bear in mind that the image may have an "invisible" border so crop that first if you want to be totally accurate (see further steps for guidance on how to crop a picture).
When you have the size you want you can print directly from Word. Set any printing preference from your printers software. If you use the "Print" icon on the task bar you wont be presented with this option so print via the "File" menu.
If you are layering the image then copy and paste the image before printing (select image/copy then paste).
 If you only require certain elements of the image for layering then don't print the whole image, wasting ink in the process. Just crop the sections you require. Select the image, click on the crop icon in the tool bar then drag from the points on the sides of each line on the image as far in as you require the cut. TOP TIP: To get really close to the image hold down the Alt key as you drag.

 Repeat the copy/paste/crop action for any other elements you require then print in one go (best quality print).
I hope it helps those of you who perhaps haven't yet mastered this technique.
xx


9 comments:
That's exactly what I do. Great instructions! It's always quite difficult to create instructions for other people to follow, so great job!
Thanks - Ruth x
Brilliant tutorial Karen! I didn't think there'd be anything I didn't already know in it (sorry I don't mean to sound big headed at all) but I didn't know how to crop an image in Word and now I do so thank you very much.xxxx
Brilliant tip Karen! I use the programme that comes with the My Craft Studio CDs if anyone has these, they are brill for resizing Dotties, and making little scenes with the transparent Christmas scenes and images.
Love Becky xx
Thank you so much.
This is so helpful, as I am new to this!
Thanks again
Lisa x
Thanks Karen, I didnt know about crop either,i've jsut been showing my mum how to format pictures and word art on word, so this will be great to show her,as you're far better at explaining than me.
Nicola.xx
Nor the lock aspect ratio bit either!! xxx
This is great Karen - anything simple suits me!!!
Love Juliet xx
Oh thank you so much, I will have to try this step by step as I am really not very technical and it's always a bit hit and miss with me! (blush)
Thank you Karen, the cropping of images looks great!
love Dingle.x
This is new to me and I purchased the xmas dotties today. Only trouble is, I'm on a MAC and cant fathom out the resizing and when printing images, not a crisp dark image, bit blurry, HELP!!!!
Post a Comment